VirtualBox : Lubuntu 18 (Ubuntu) Installation
In diesem Artikel zeige ich, wie Lubuntu 18 auf einer VirtualBox-Maschine installiert und konfiguriert werden kann. Der Netzwerkadapter wird dabei so konfiguriert, dass der Internetzugriff möglich ist. Lubuntu 18 ist eine Lightversion basierend auf der Ubuntu-Distribution. Diese Anleitung kann auch auf andere Linux-Distributionen übertragen werden.
Was ihr dazu benötigt
- VirtualBox ⇢ VirtualBox Downloads
- Lubuntu Version 18 ⇢ Lubuntu Downloads
VirtualBox Lubuntu / Ubuntu 18 Grundinstallation
Erstellt euch als erstes eine neue VirtualBox-Maschine. Drückt dazu in der VirtualBox auf "Neu".

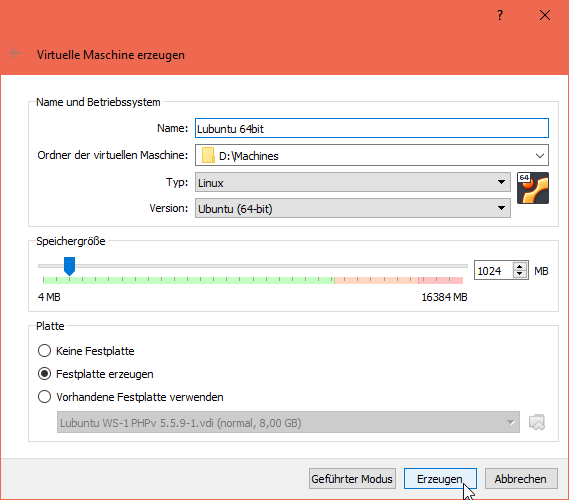
Gebt der neuen Maschine jetzt einen Namen, zB. "Lubuntu 64bit". Die Speichergröße stellt ihr auf 1GB, oder besser 4GB und drücken anschließend auf "Erzeugen".
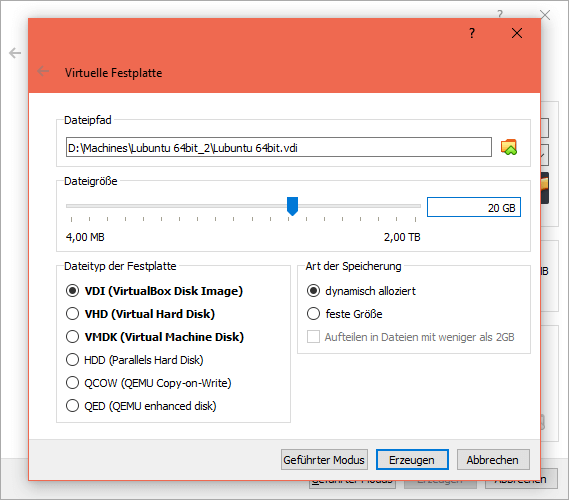
An dieser Stelle bestimmt ihr die Festplattengröße. In diesem Beispiel "20 GB", was für Linux voll ausreichend ist. Drückt danach auf "Erzeugen".
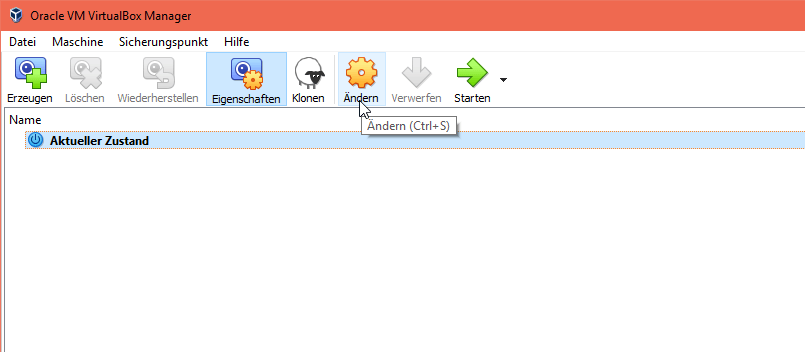
Die neue VirtualBox-Maschine ist erstellt worden. Geht jetzt auf "Ändern" um weitere Anpassungen vorzunehmen.
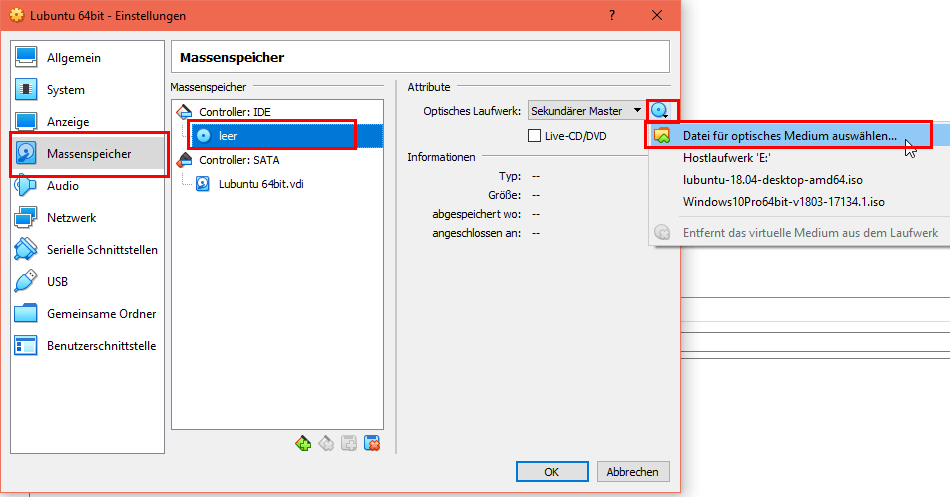
Wählt als nächstes unter "Massenspeicher/Controller:IDE" das Boot-Medium aus. Klickt dazu auf das CD-Symbol und wählt dort "Datei für optisches Medium auswählen..." aus.
Navigiert jetzt auf die Lubuntu .iso-Datei (lubuntu-18.04-desktop-amd64.iso) und wählt diese aus.
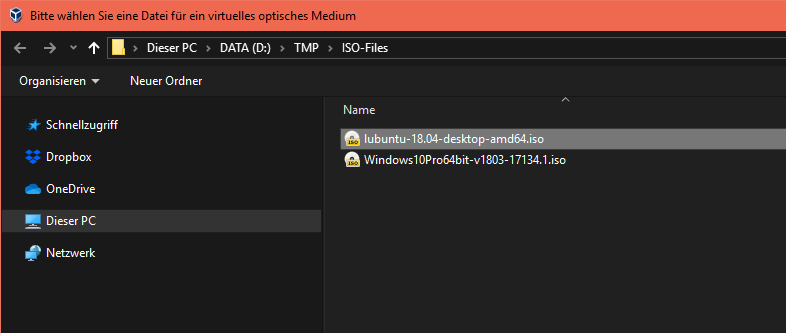
Als nächstes wählt den Bereich "Netzwerk" aus. Dort wählt ihr dann unter "Angeschlossen an:" die "Netzwerkbrücke" aus.

Jetzt könnt ihr die VirtualBox-Maschine starten und damit auch die Installation von Lubuntu 18.04 Drückt dazu den Button "Starten".
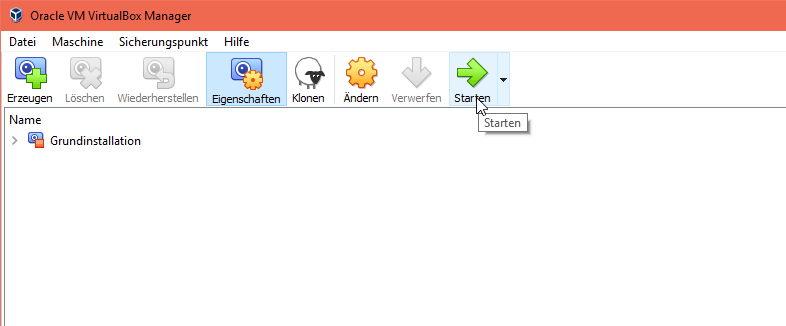
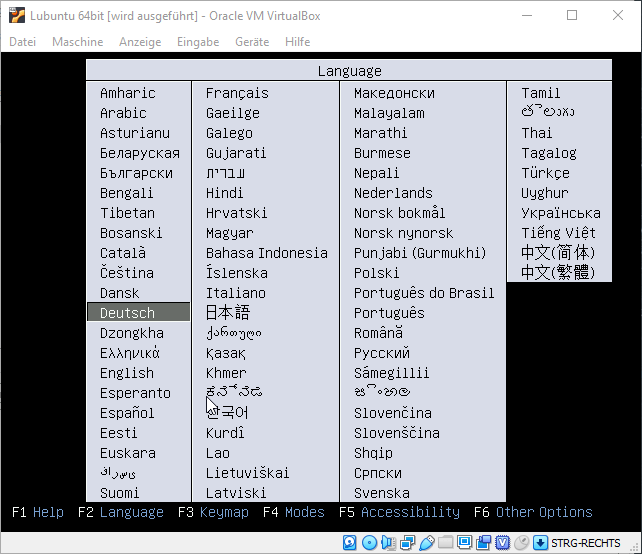
Jetzt wird die Lubuntu-Installation ausgeführt. Wählt jetzt mit der Tastatur die Sprache aus und drückt Enter.
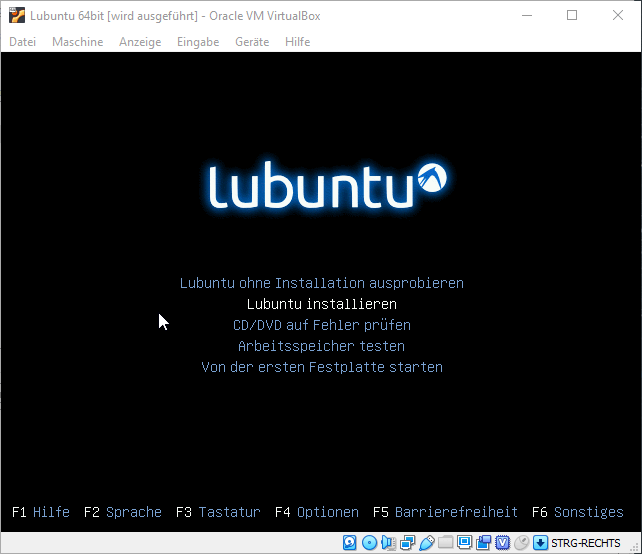
Wählt jetzt mit der Maus den Punkt "Lubuntu installieren" aus.
Die richtige Sprache sollte vorselektiert sein. Drückt auf "Weiter".
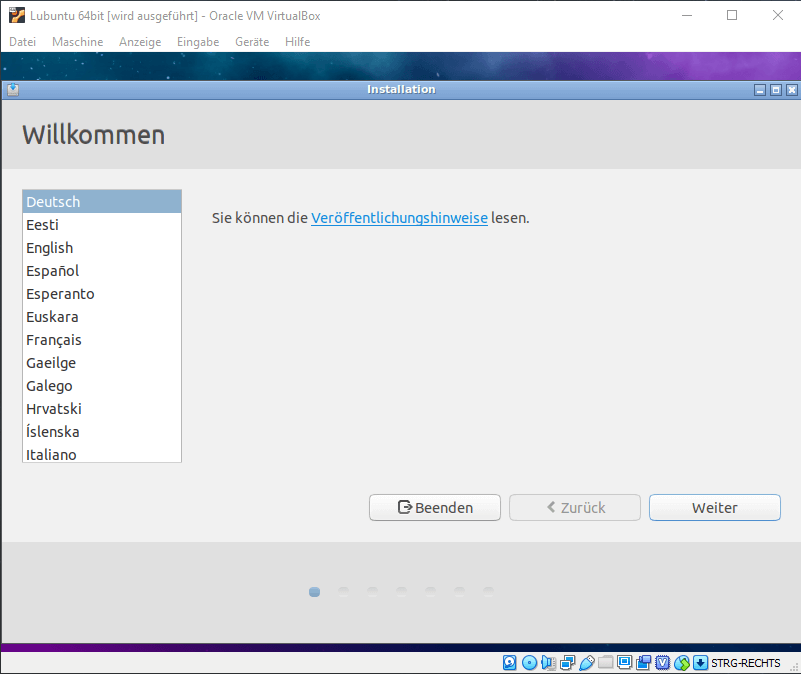
An dieser Stelle wird die vorher erstellte 20 GB VirtualBox-Festplatte verwendet und formatiert (Guest-System). Diese Einstellung könnt ihr so belassen. Drückt jetzt auf "Jetzt installieren".
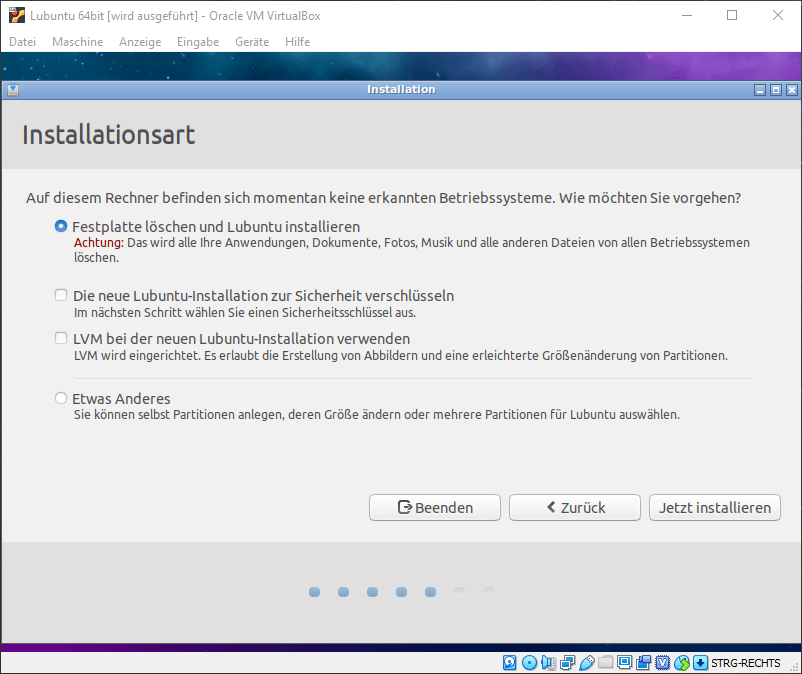
An dieser Stelle könnt ihr die Einstellungen wie folgt vornehmen, wenn ihr keine zusätzliche Software installieren wollt.
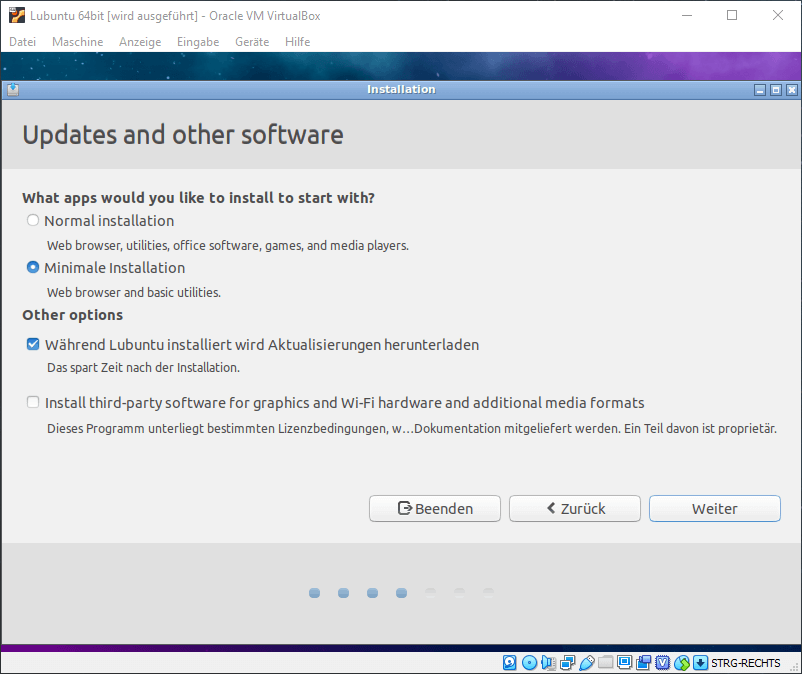
Auch hier sollten die Einstellungen passen. Drückt auf "Weiter".
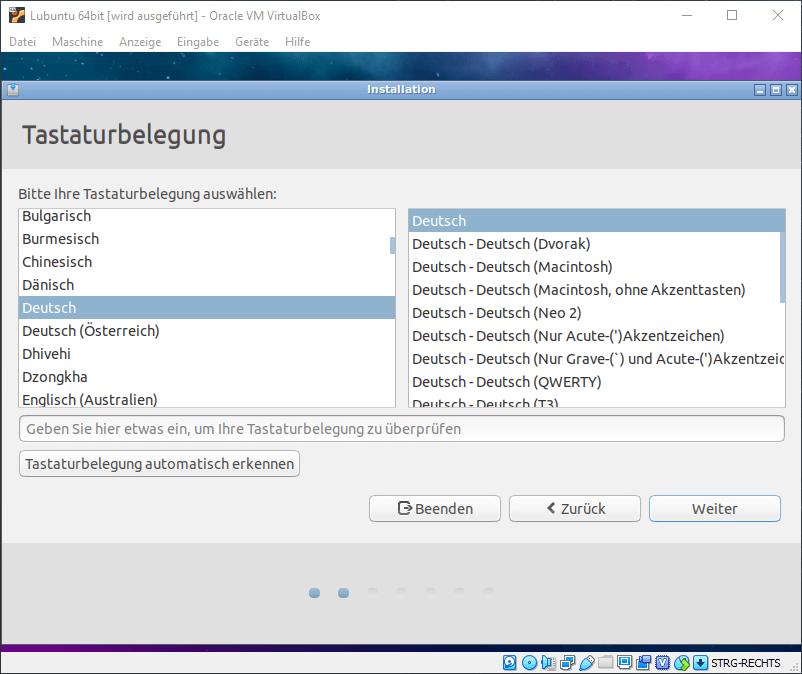
Jetzt erscheint die Meldung, dass diese Partition formatiert wird. Das ist in Ordnung. Drückt auf "Weiter".
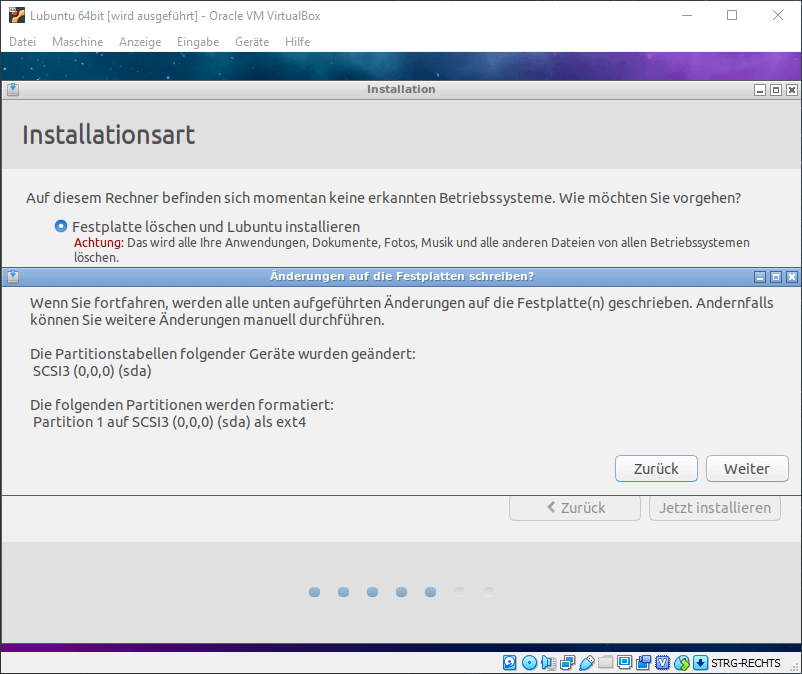
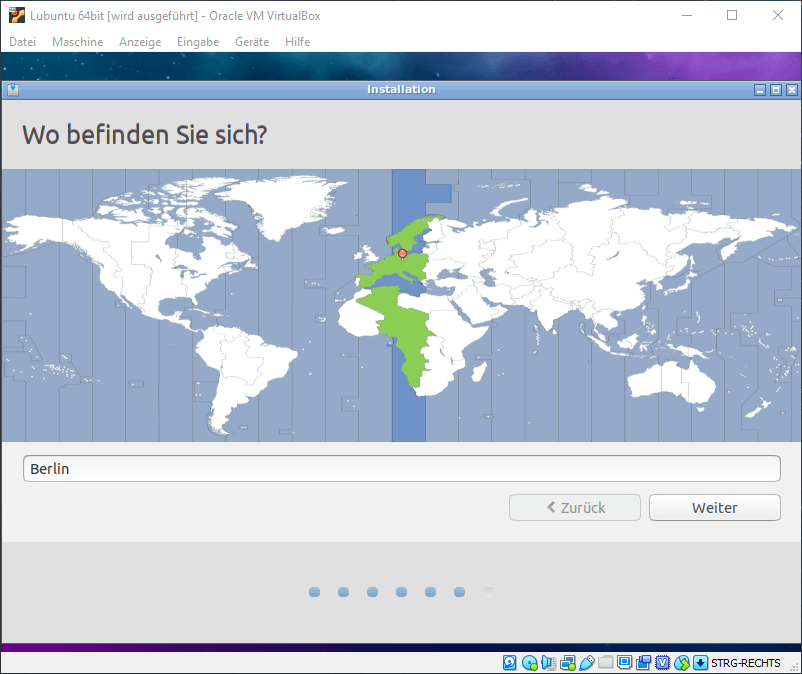
Hier wählt ihr eure Zeitzone aus, für Deutschland "Berlin".
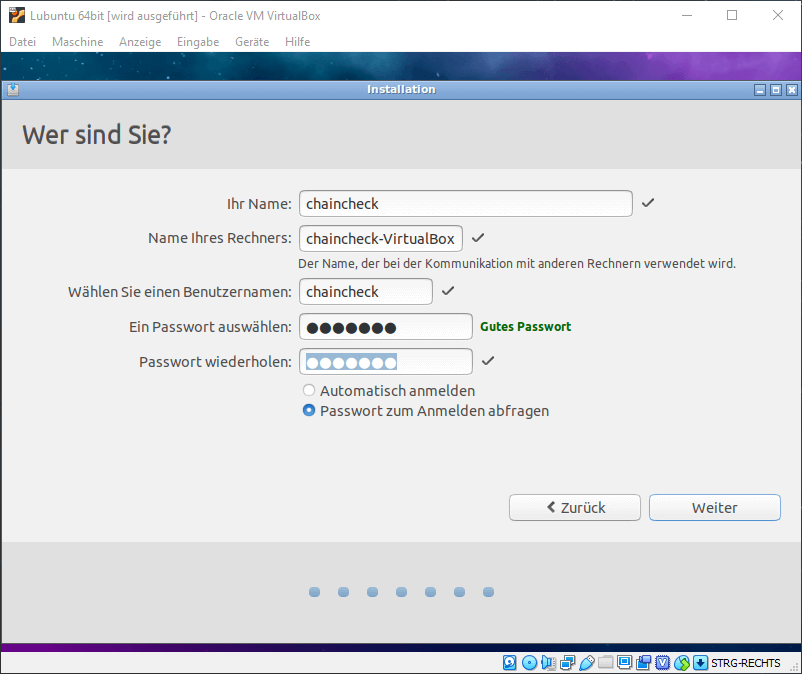
Jetzt könnt ihr den Benutzernamen und den Rechnernamen vergeben. Ich empfehle hier alles klein zu schreiben, da Linux case sensitive ist, d.h. Groß- und Kleinschreibung wird beachtet. Als nächstes vergebt ihr eurem Benutzer ein Kennwort.
Die Installation wird jetz durchgeführt:
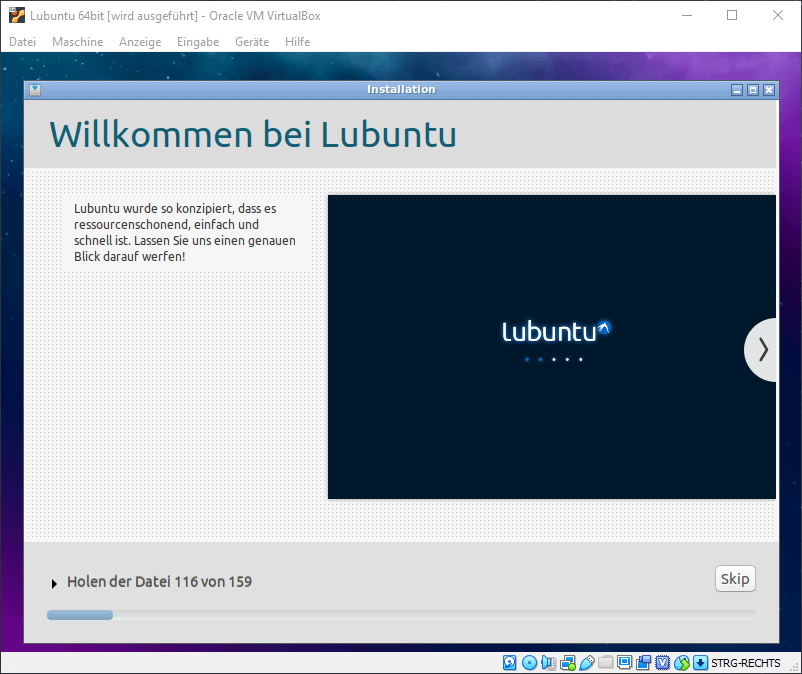
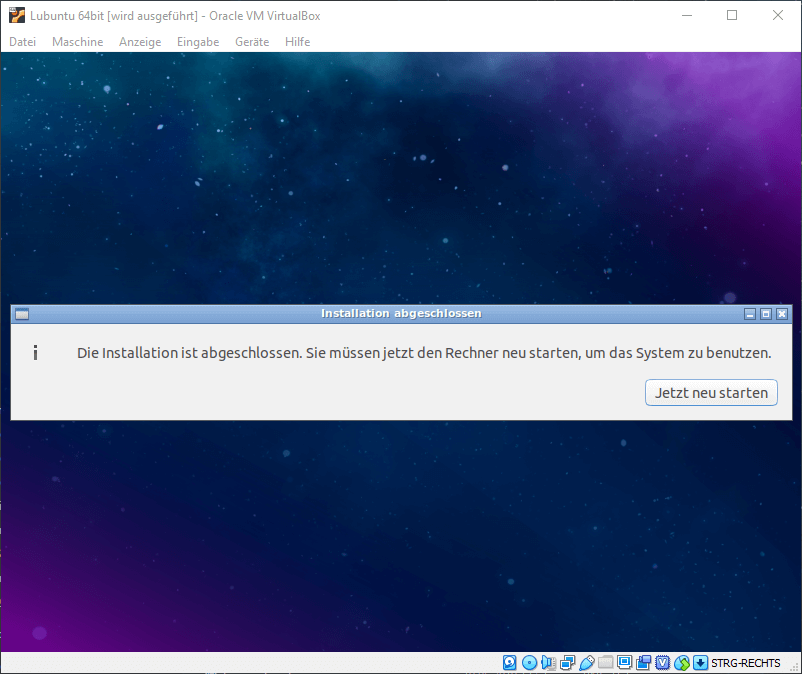
Nach etwa 10 Minuten ist die Installation abgeschlossen. Drückt jetzt auf "Jetzt neu starten".
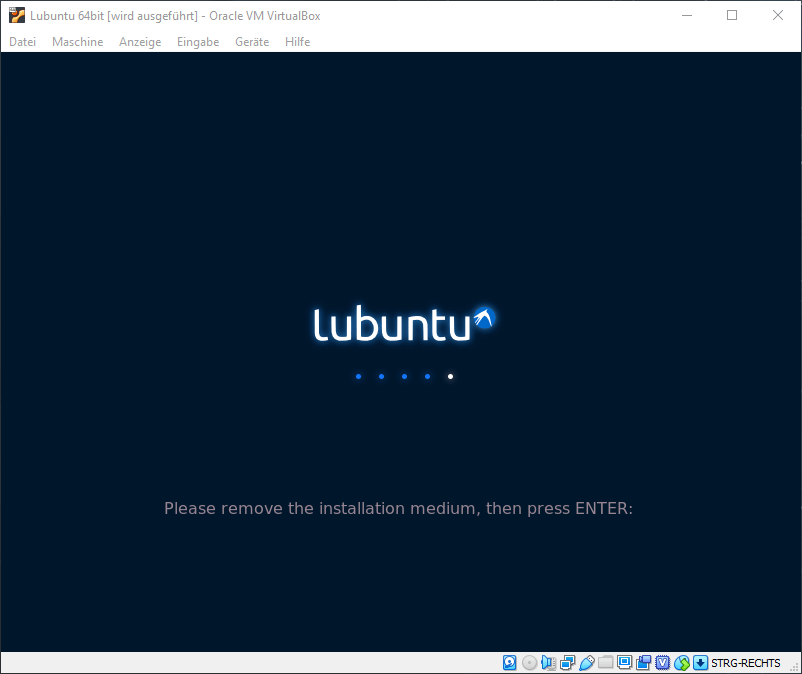
Hier könnt ihr "Enter" drücken.
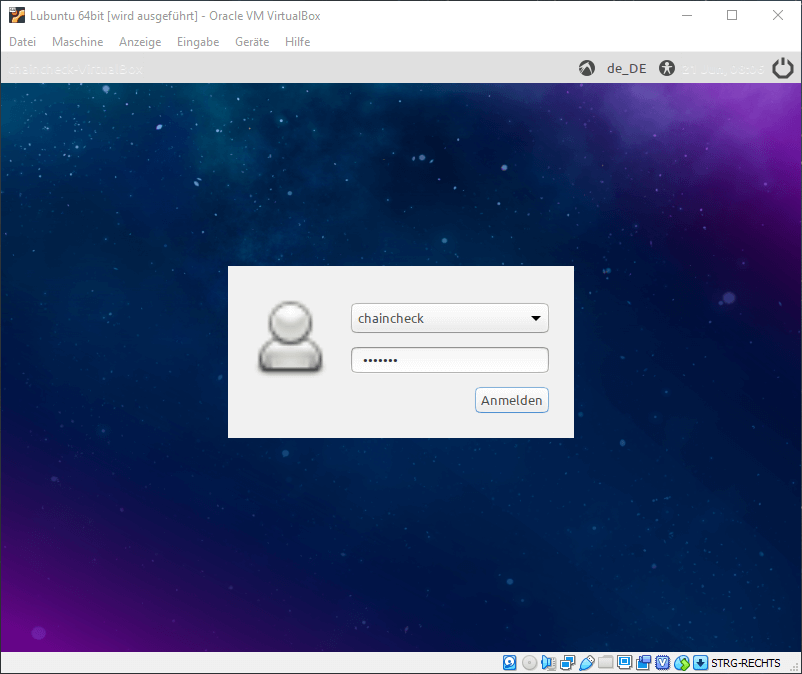
Die Virtuelle-Maschine wurde neu gestartet und ihr könnt euch jetzt mit eurem Kennwort anmelden.
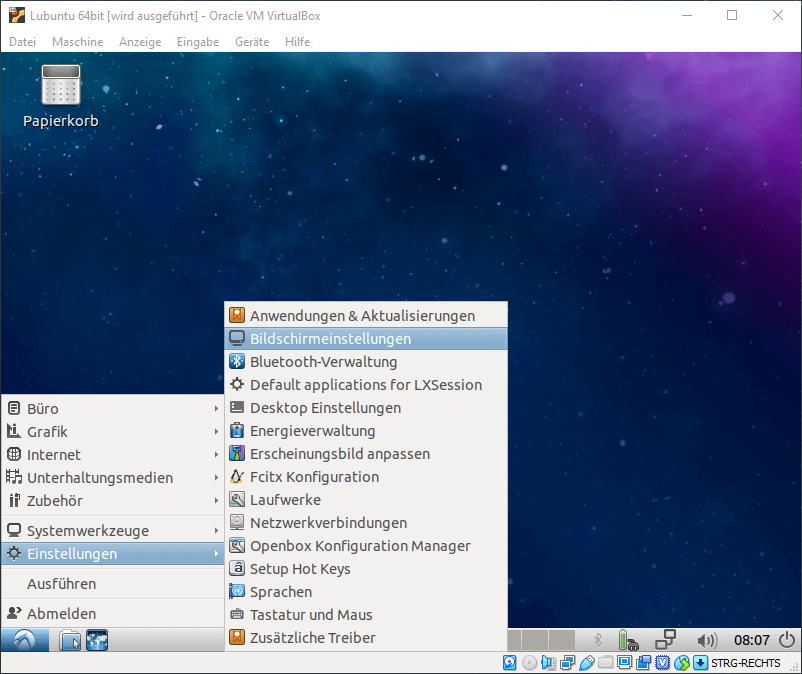
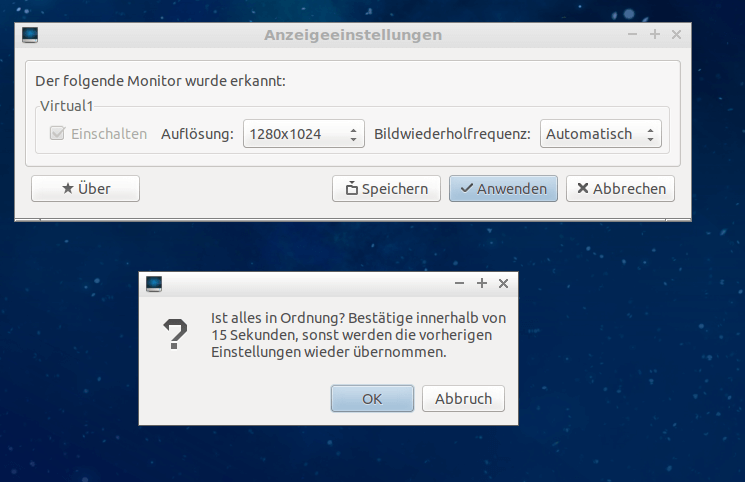
Die standard Bildschirmauflösung ist oft nicht optimal. Die Auflösung könnt ihr über das Menü höher stellen.
Hier wählt ihr eure gewünschte Auflösung aus und aktiviert diese mit "Anwenden". Damit die Auflösung gespeichert bleibt, müsst ihr noch auf "Speichern" drücken.
Das war's, ihr habt Lubuntu 18.04 erfolgreich in einer VirtualBox-Maschine installiert.