VirtualBox : Lubuntu 19 (Ubuntu) Installation
In diesem Artikel zeige ich, wie Lubuntu 19 (Ubuntu) auf einer VirtualBox-Maschine installiert und konfiguriert werden kann. Der Netzwerkadapter wird dabei so konfiguriert, dass der Internetzugriff möglich ist. Auch wird damit der Zugriff von Außen möglich sein. Lubuntu 19 ist eine Lightversion basierend auf der Ubuntu-Distribution. Diese Anleitung kann auch auf andere Linux-Distributionen übertragen werden.
Was ihr dazu benötigt
- VirtualBox ⇢ VirtualBox Downloads
- Lubuntu Version 19 ⇢ Lubuntu Downloads
VirtualBox Lubuntu / Ubuntu 19 Grundinstallation
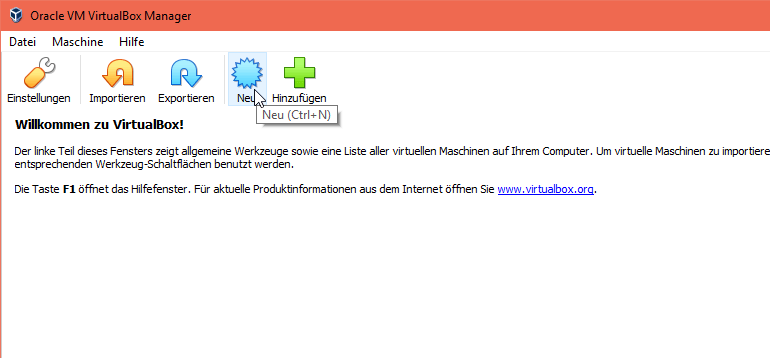
Erstellt euch zuerst eine neue VirtualBox-Maschine. Drückt dazu in der VirtualBox auf "Neu".
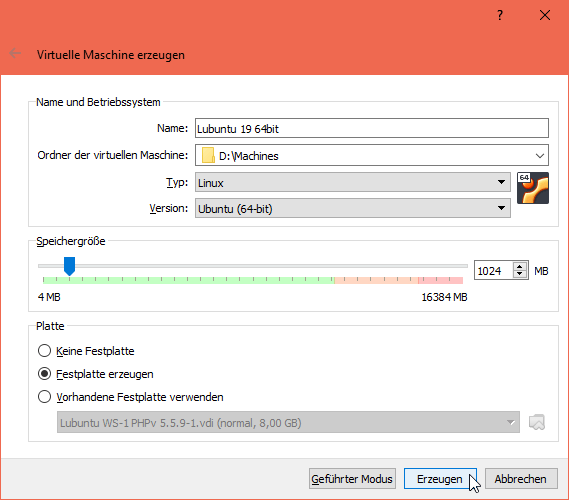
Gebt der neuen Maschine jetzt einen Namen, zB. "Lubuntu 19 64bit". Die Speichergröße stellt ihr auf 1GB, oder besser 4GB und drücken anschließend auf "Erzeugen".
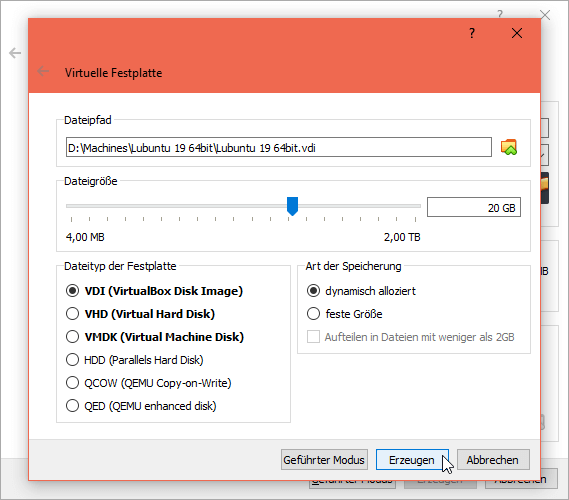
An dieser Stelle bestimmt ihr die Festplattengröße. In diesem Beispiel "20 GB", was für Linux voll ausreichend ist. Drückt danach auf "Erzeugen".
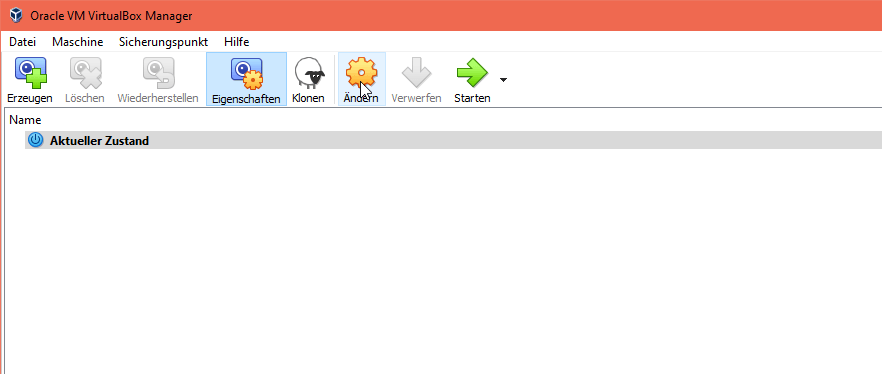
Die VirtualBox ist damit erstellt worden. Geht jetzt auf "Ändern" um noch ein paar Anpassungen vorzunehmen.
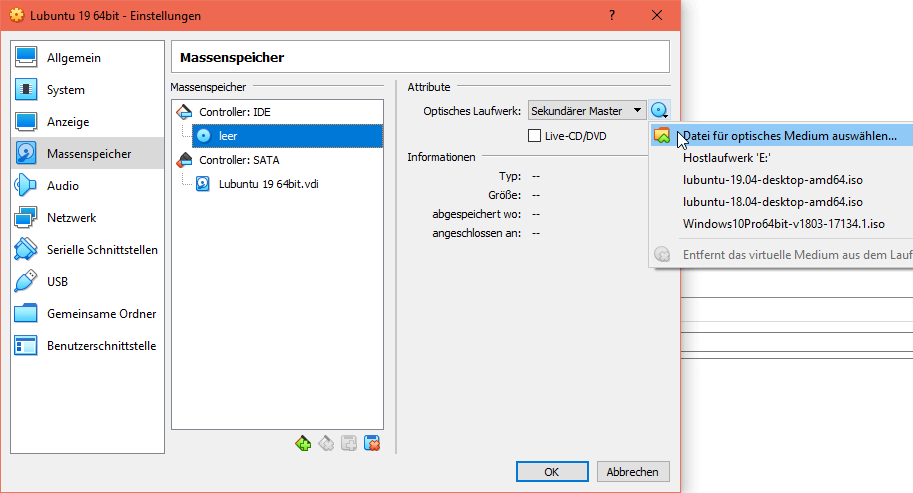
Aktiviert als erstes unter "Massenspeicher/Controller:IDE" den Text "Leer". Wählt danach über das CD-Symbol die Option "Datei für optisches Medium auswählen..." aus.
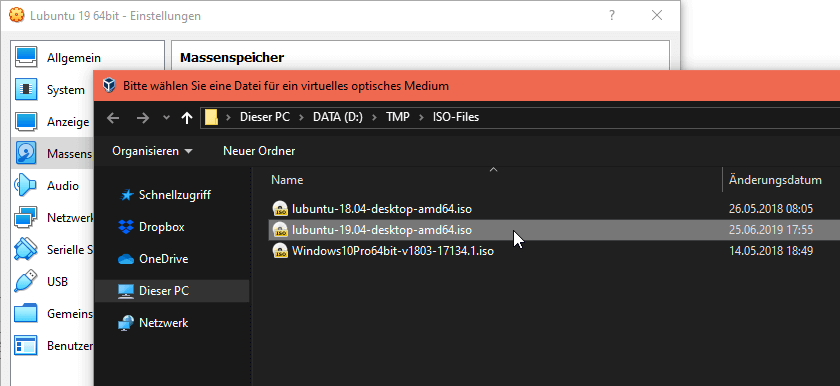
Und navigiert dann auf eurer Festplatte zur .iso-Datei (zB. lubuntu-19.04-desktop-amd64.iso) und wählen diese Datei mit einem Doppelklick aus.
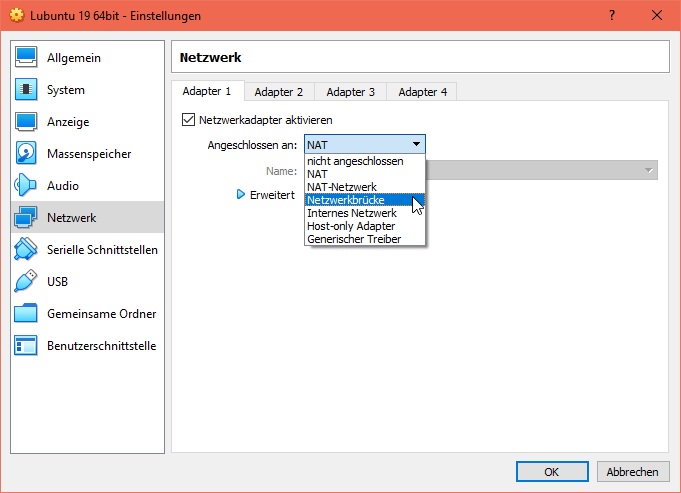
Aktiviert als nächstes den Bereich "Netzwerk" und wählt dort im Feld "Angeschlossen an:" die "Netzwerkbrücke" aus.
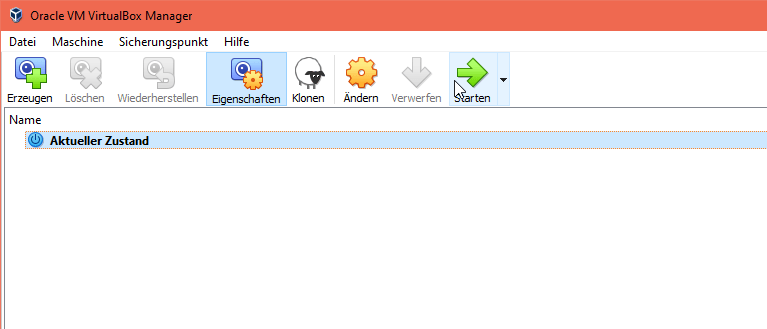
Jetzt könnt ihr die VirtualBox starten. Drückt dazu den Button "Starten".
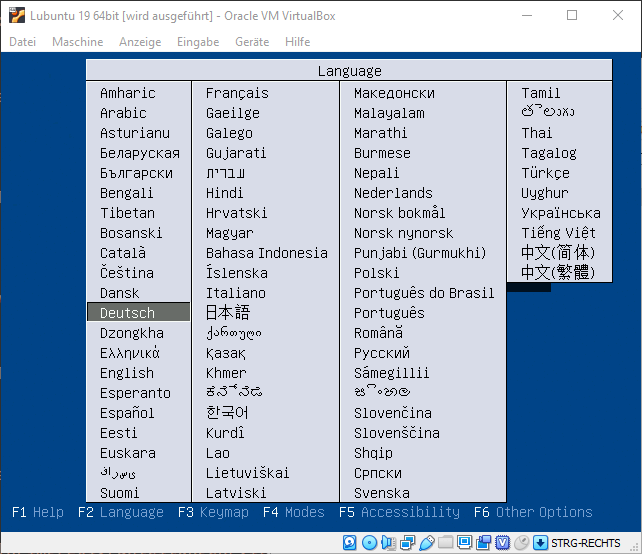
Wählt jetzt mit der Tastatur eine Sprache aus. In diesem Beispiel "Deutsch" und drücken Enter.
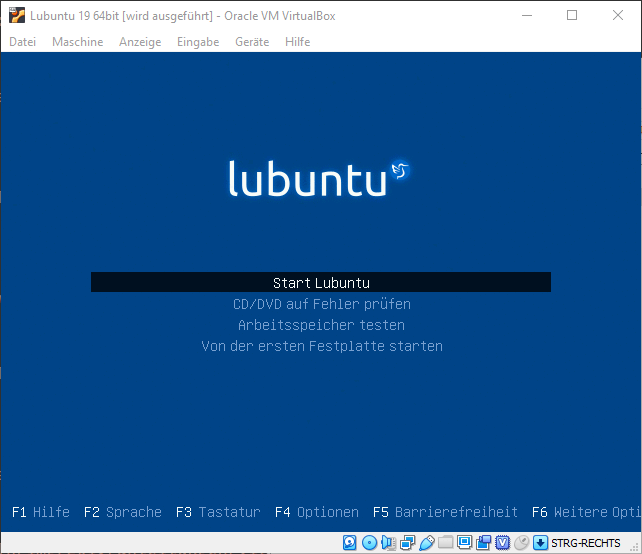
Wählt hier mit der Maus den Punkt "Start Lubuntu".
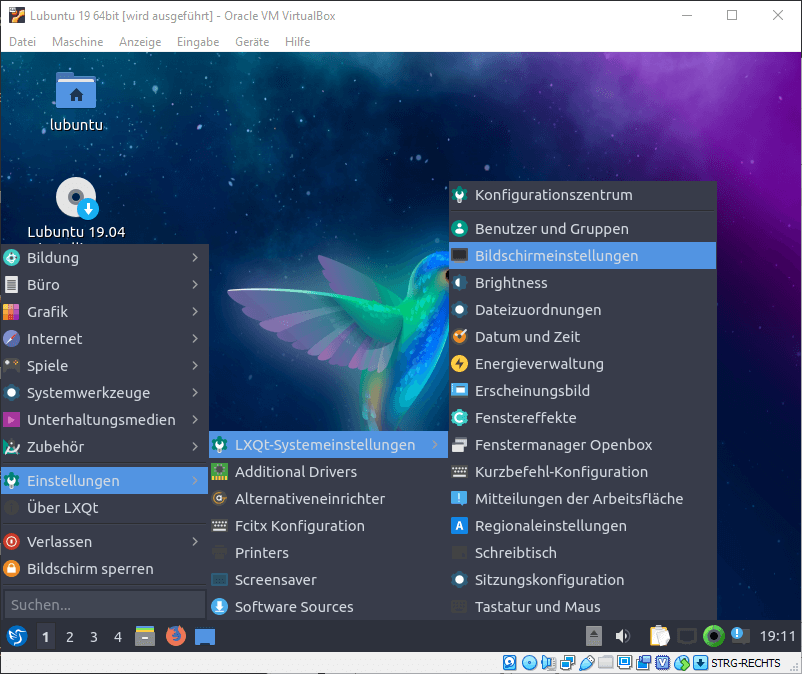
Jetzt solltet ihr die Bildschirmauflösung anpassen, da diese für die Installation zu klein ist. Geht dazu über dieses Menü auf "Bildschirmeinstellungen".
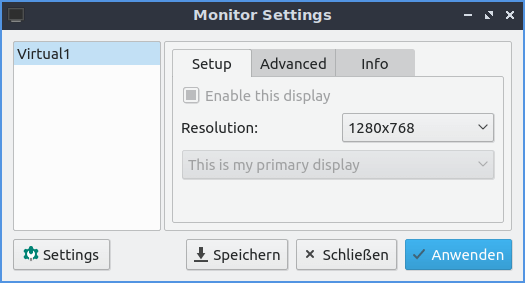
Und stellt die Auflösung auf mindestens 1280x768 und drücken auf "Anwenden:
Um die Installation jetzt zu beginnen, drück auf das Desktop-Symbol "Lubuntu 19.04 installieren".
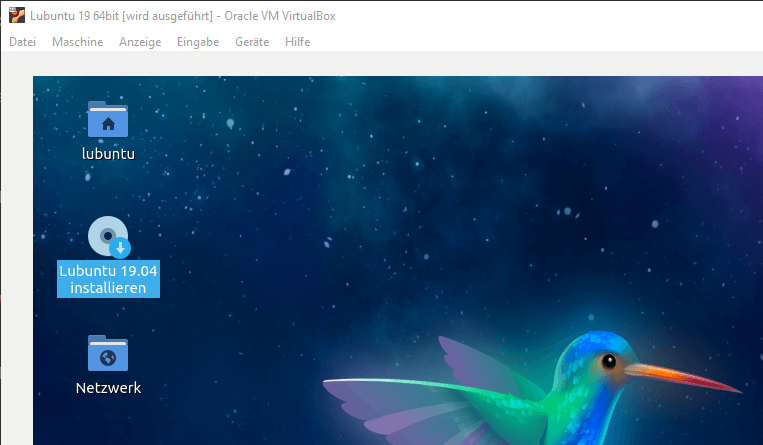
Drückt jetzt "Weiter".
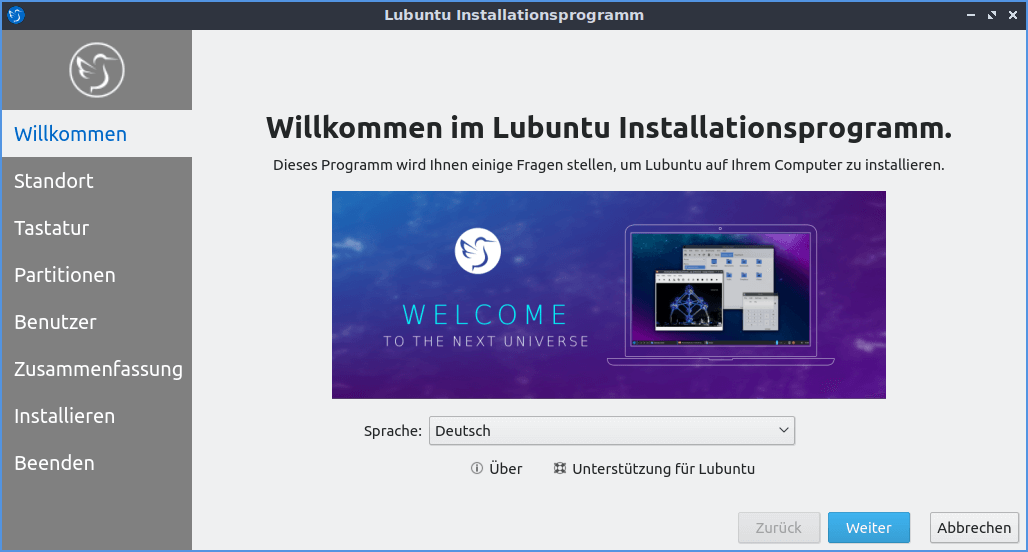
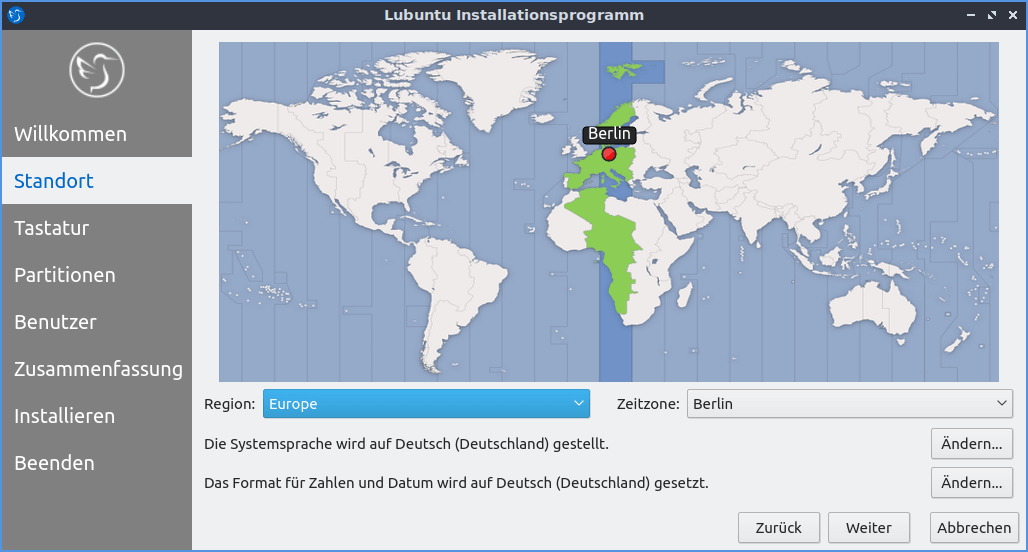
Stellt hier die Zeitzone ein. z.B. Berlin und drückt dann auf "Weiter".
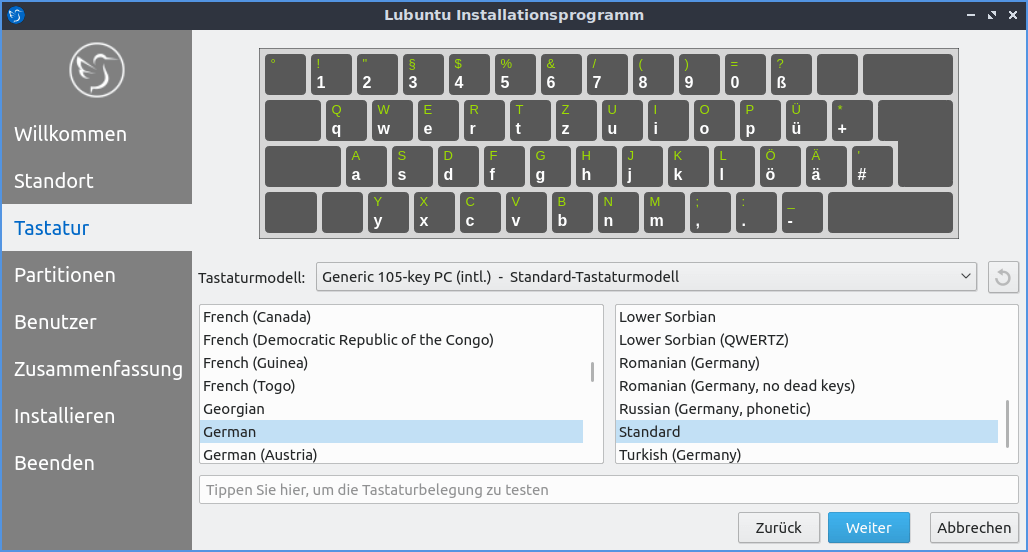
Die Tastatur sollte passen. Drückt auf "Weiter".
Hier stellt ihr die Partitionierung der VirtualBox-Festplatte ein. Wählt hier "Festplatte löschen" und drücken dann auf "Weiter".
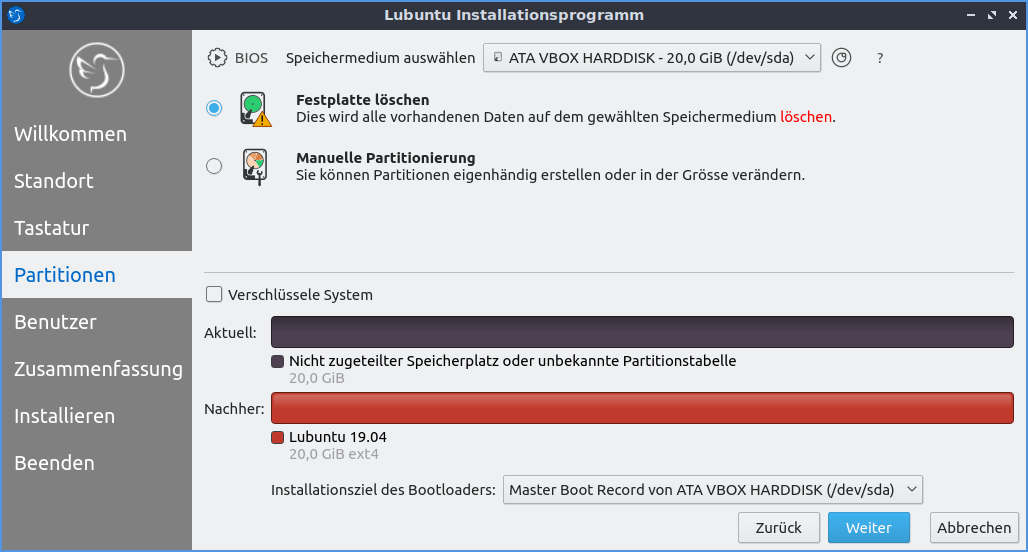
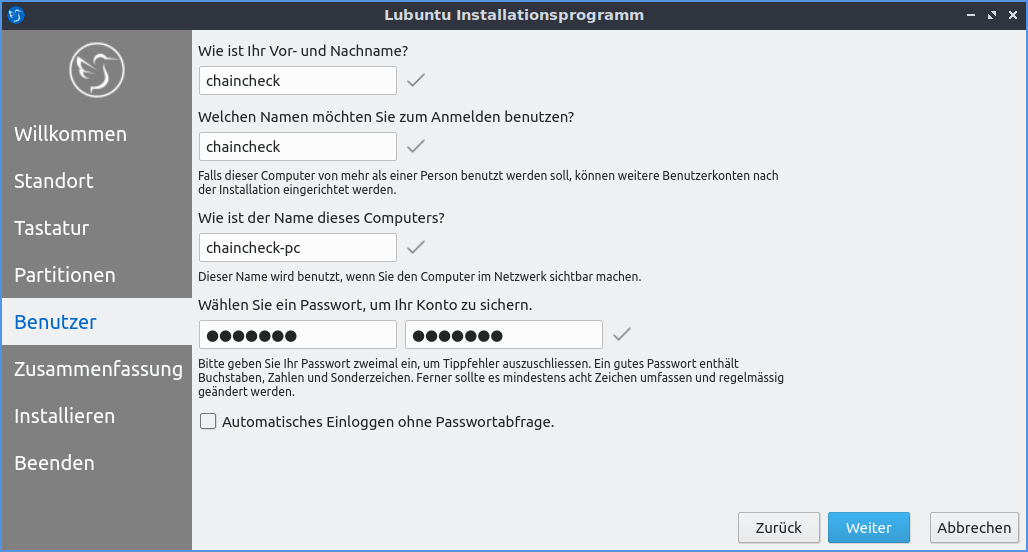
Hier könnt ihr jetzt den Benutzernamen, den Computernamen und das Kennwort eingeben.
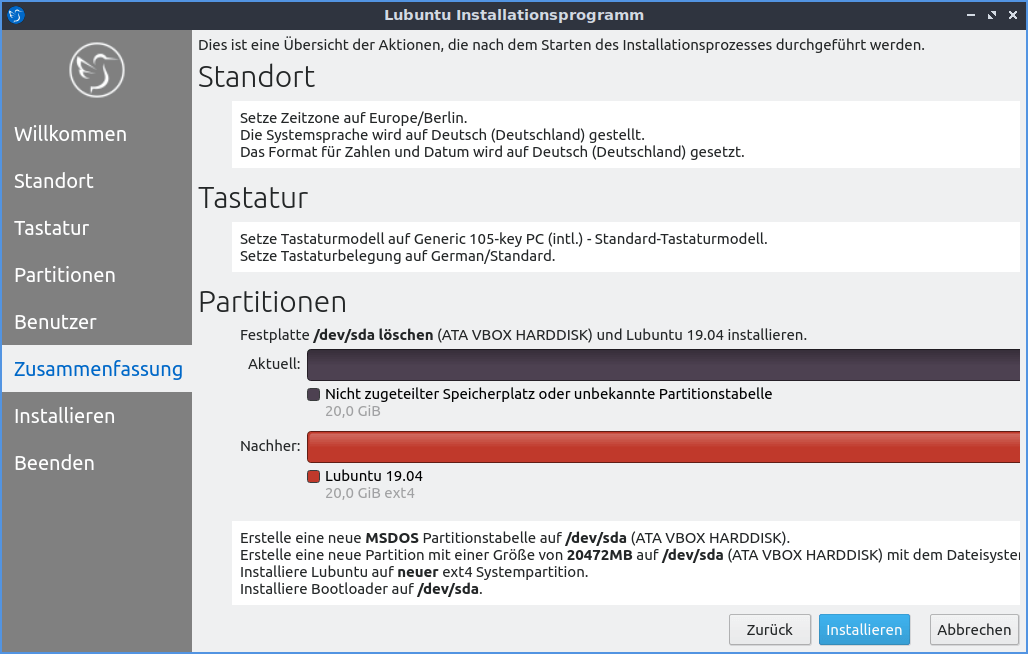
Hier werden die Installations-Einstellungen summiert angezeigt. Drückt auf "Installieren".
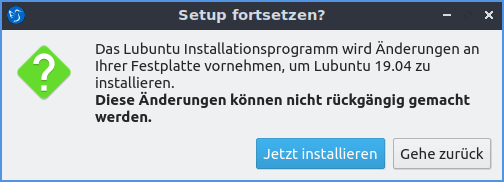
Es erscheint das folgende PopUp-Fenster. Drückt hier auf "Jetzt installieren".
Die Lubuntu 19 Installation wird jetzt durchgeführt. Das dauert etwa 10 Minuten.
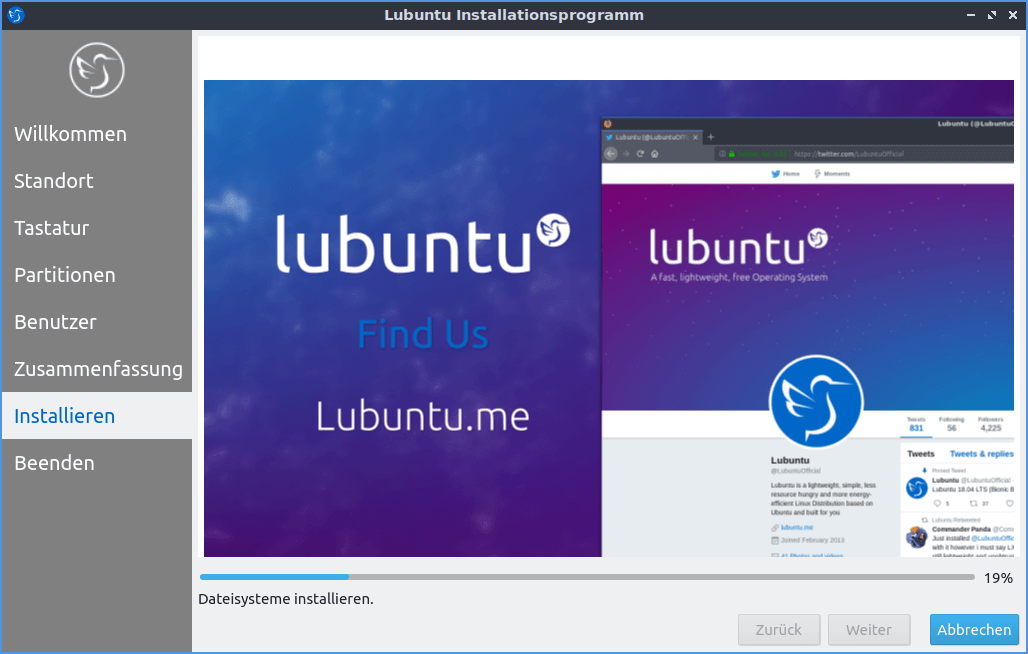
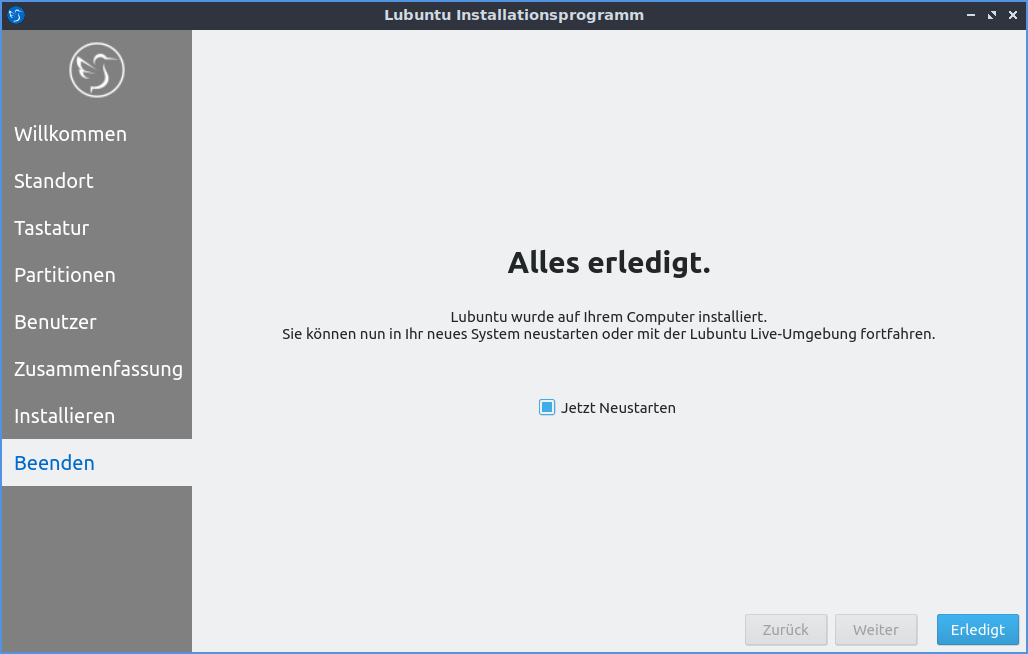
Jetzt erscheint die Abschluss-Meldung der Installation. Drückt jetzt auf "Erledigt", damit der PC neugestartet wird.
Sollte der Neustart fehlschlagen bzw. ihr die Meldung "Failed unmounting /cdrom." bekommt, dann schaltet den PC jetzt manuell über die VirtualBox wie folgt aus.

Startet danach die VirtualBox einfach mit dem Button "Starten" neu.

Es erscheint der AnmeldeDesktop von Lubuntu 19. Tragt hier das vorher definierte Kennwort ein und drückt "Enter".
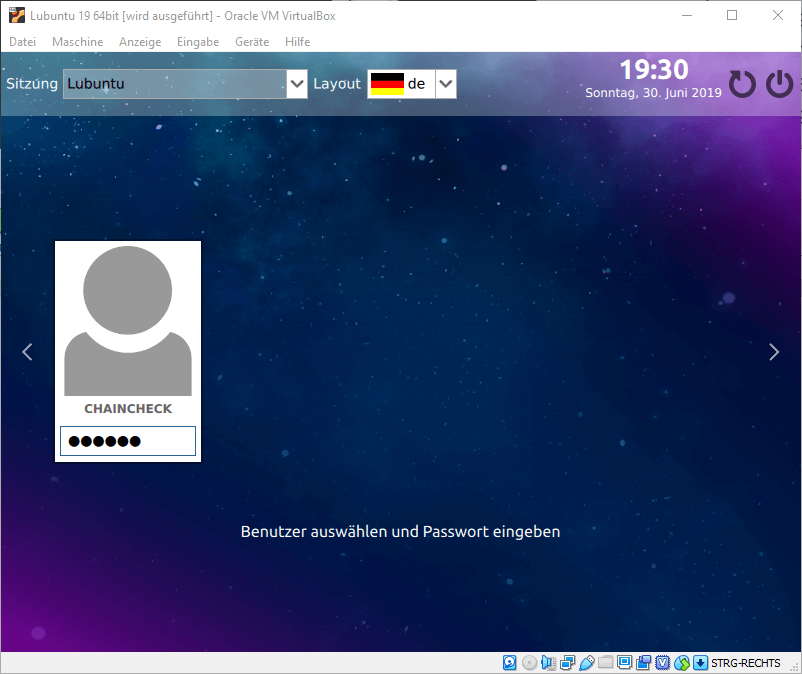
Ihr habt euch damit erfolgreich angemeldet. Der Desktop von Lubuntu 19 erscheint.

Die Lubuntu 19 Installation ist damit abgeschlossen. Ihr könnt euch jetzt noch die Bildschirmauflösung wie oben beschrieben anpassen.
Die Lubuntu 19 Grundinstallation auf einer VirtualBox ist damit abgeschlossen.